Mechanical Iris
Here is my version of a 3d printed mechanical iris (skip to bottom for assembly instructions). Although I don't remember where I saw it first, I do remember wanting to make one. My first thought was to simply print one out from thingiverse, but I didn't like any of the designs there. For my first try, I designed it on my own, but the mechanism didn't close. The reason is as follows.
Design
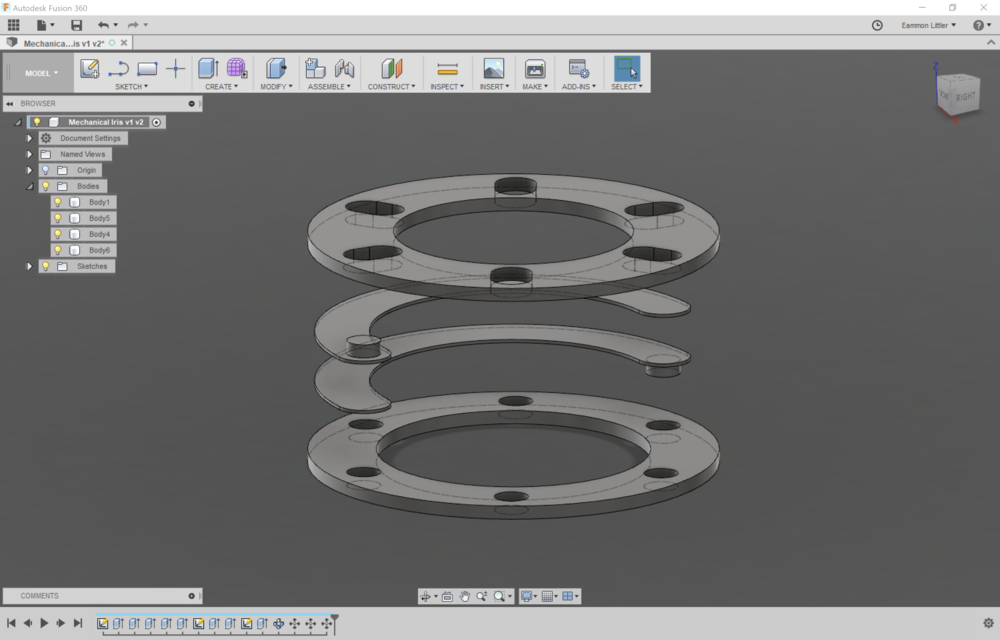

Getting a little technical, you can visualize what happens as the iris rotates with the drawing to the right. As the arm turns to close, the pin sliding across the slider section moves up initially, as the iris closes halfway, and begins to slide back down once past the halfway mark. When making the iris without the calculator software, the slider pin on my iris began at the "peak" which is why it didn't close properly. Instead, the arms swung outside of the circle, rather than staying within.
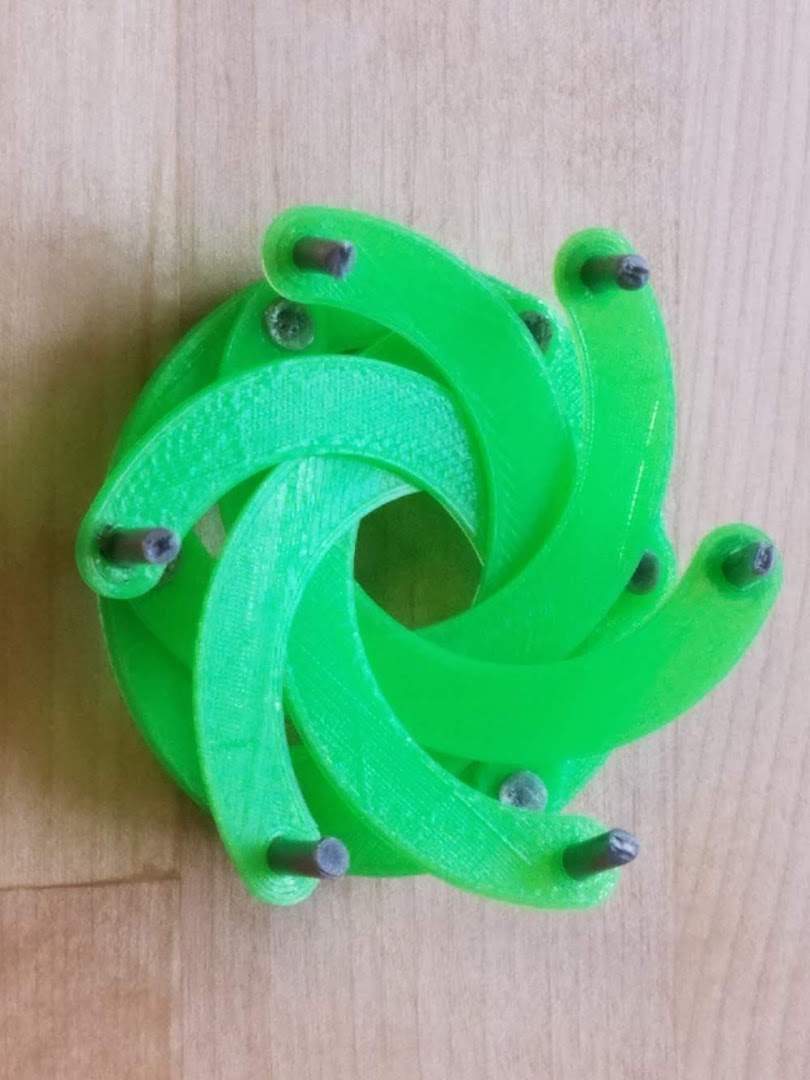
Prototype
I set out to find a software to make the mechanism automatically and found this. It's a paid program for about $5 a month-cancel anytime. I decided to splurge $5 (I know it isn't much) and got myself the program just for a month. With it, I made a functioning version you see to the right. As you might have guessed by now, the whole thing is held together by superglue, so you can't take it apart. When plastic meets superglue, white areas form as the glue dries, which you can see on the arms of the iris towards the center.
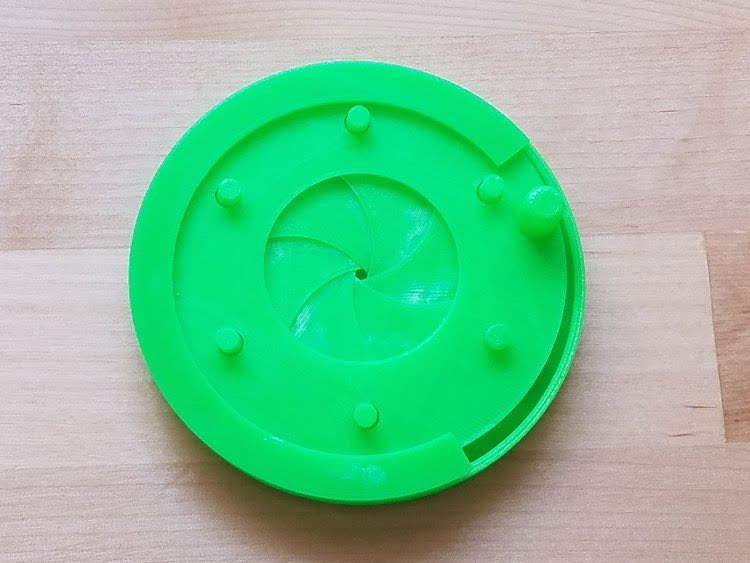
Final Design
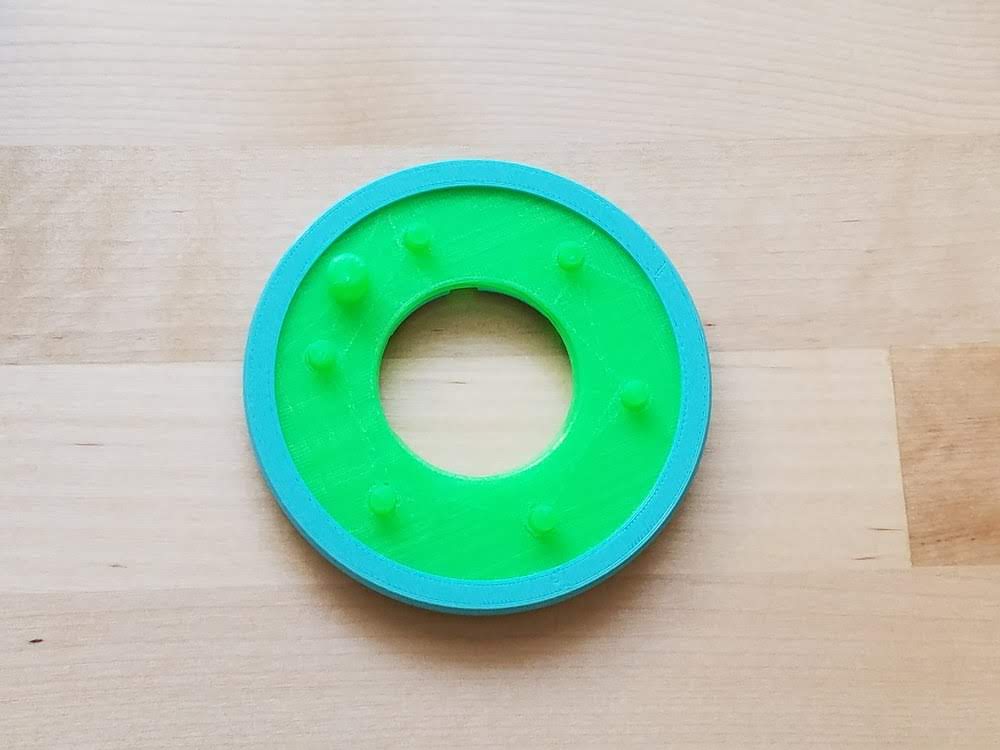
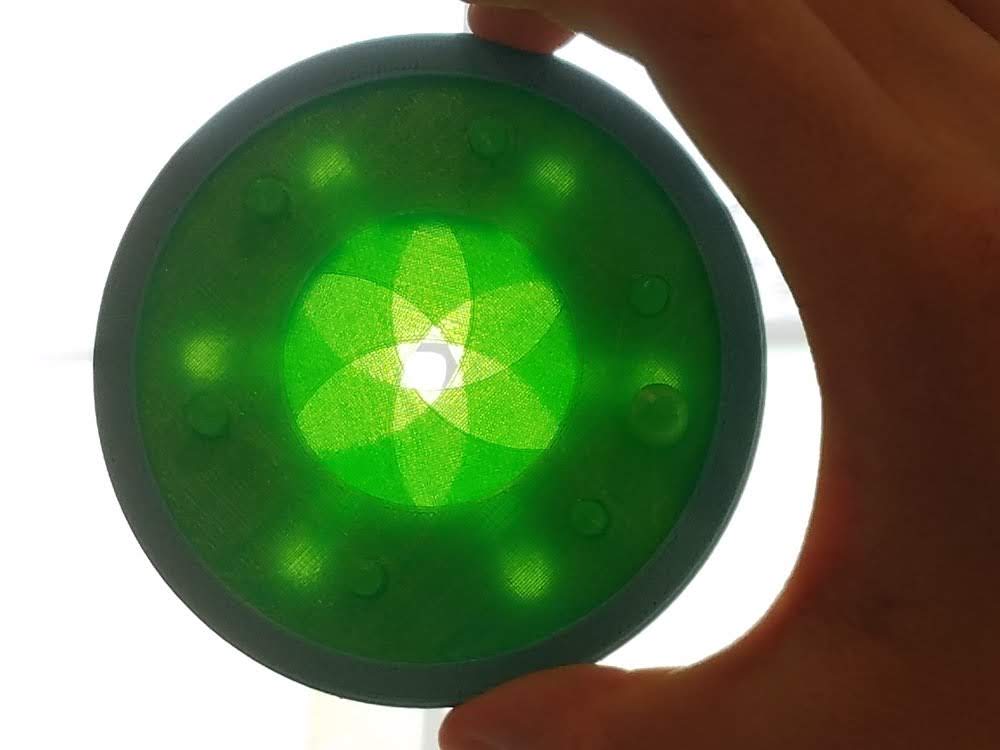
The design wasn't inviting for people to make, so I made a third version which you see here. The blue section is a screw-on case, holding everything together, and the pins are hot glued on. If any part breaks, you can take the whole thing apart very easily.
A friend of mine says it sort of resembles a lotus when held up against the light.
Assembly
Usually, I'd have a section for an assembly guide, but this time I tried making a video. It's my first time making one, so tell me if it's any good, or if there's any part you'd like to see more of, etc.