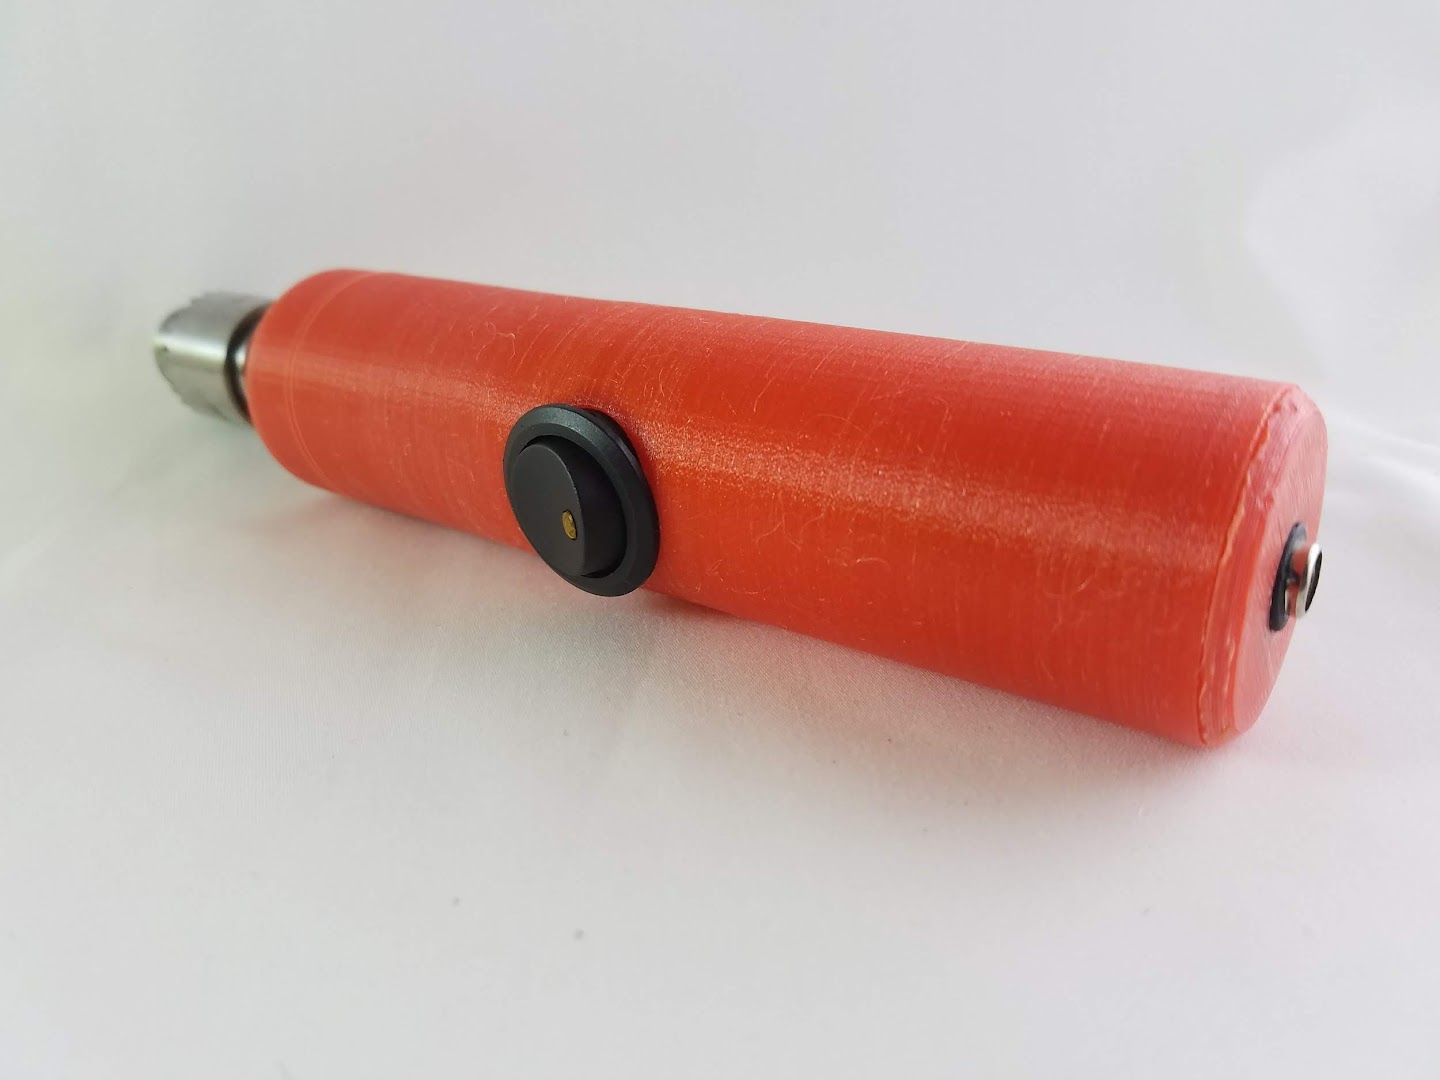
Mini Rotary Tool
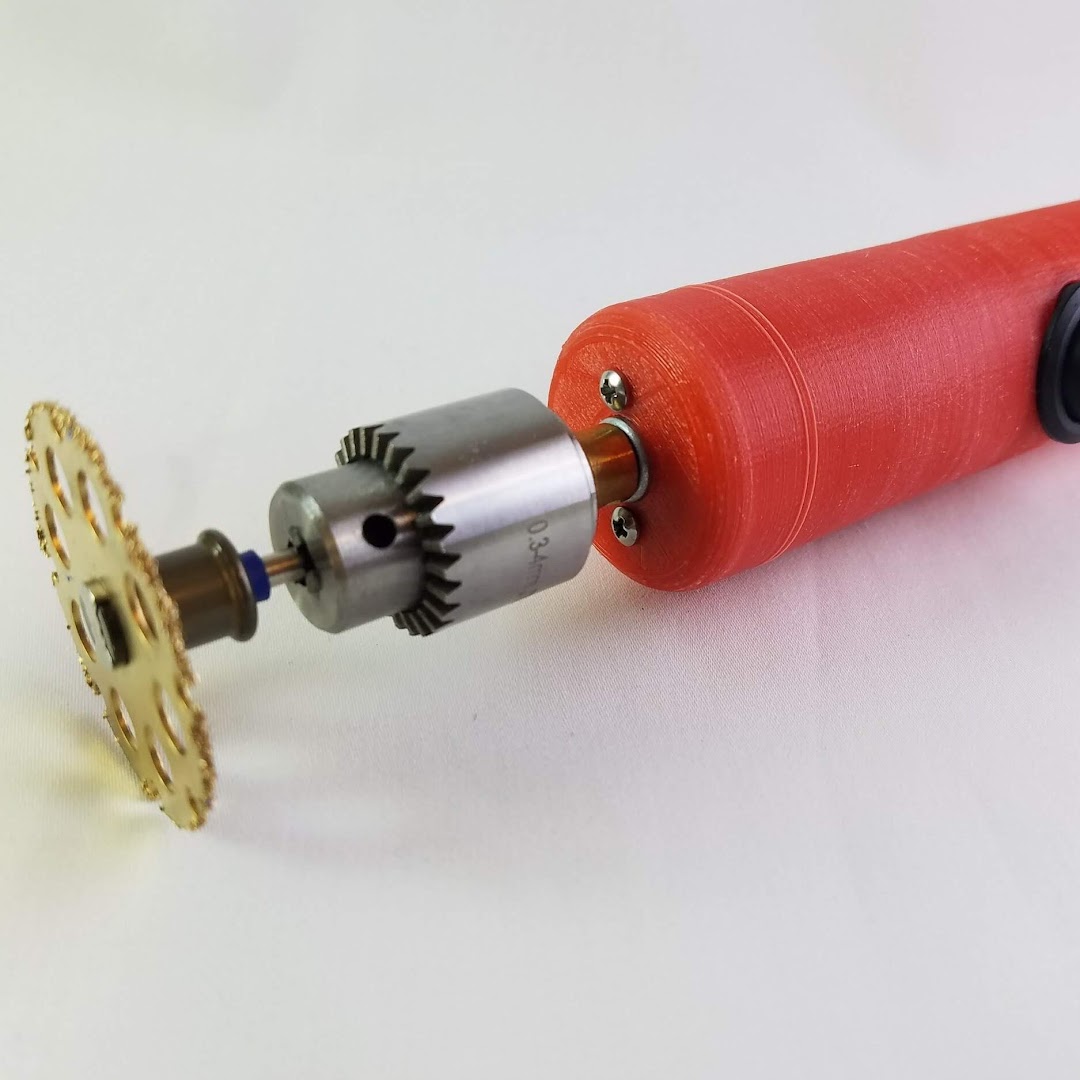
For a while I used a small handheld file with exchangeable parts to clean my 3d prints, but I found that to take too much time. Instead, I wanted something that was faster and easier to use, which ended up being a DIY rotary tool. I decided to make it after coincidentally finding a 12v motor with drill chuck, key, and drill bits. It's really simple, and only takes a few minutes to assemble (assuming you know how to solder).
Parts
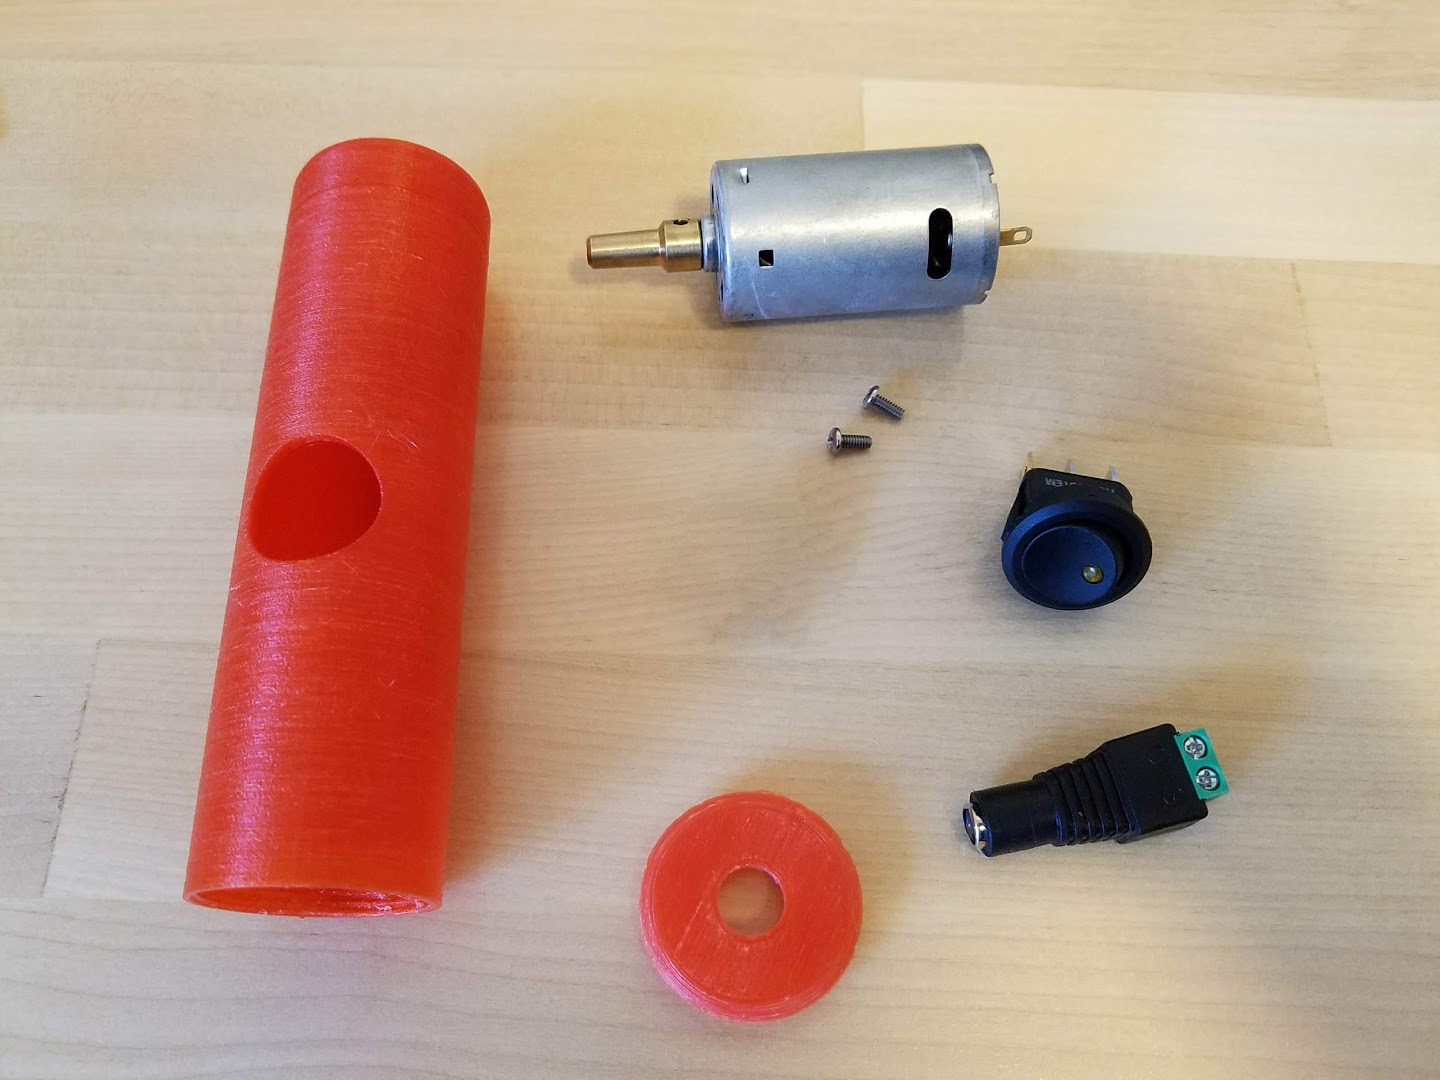
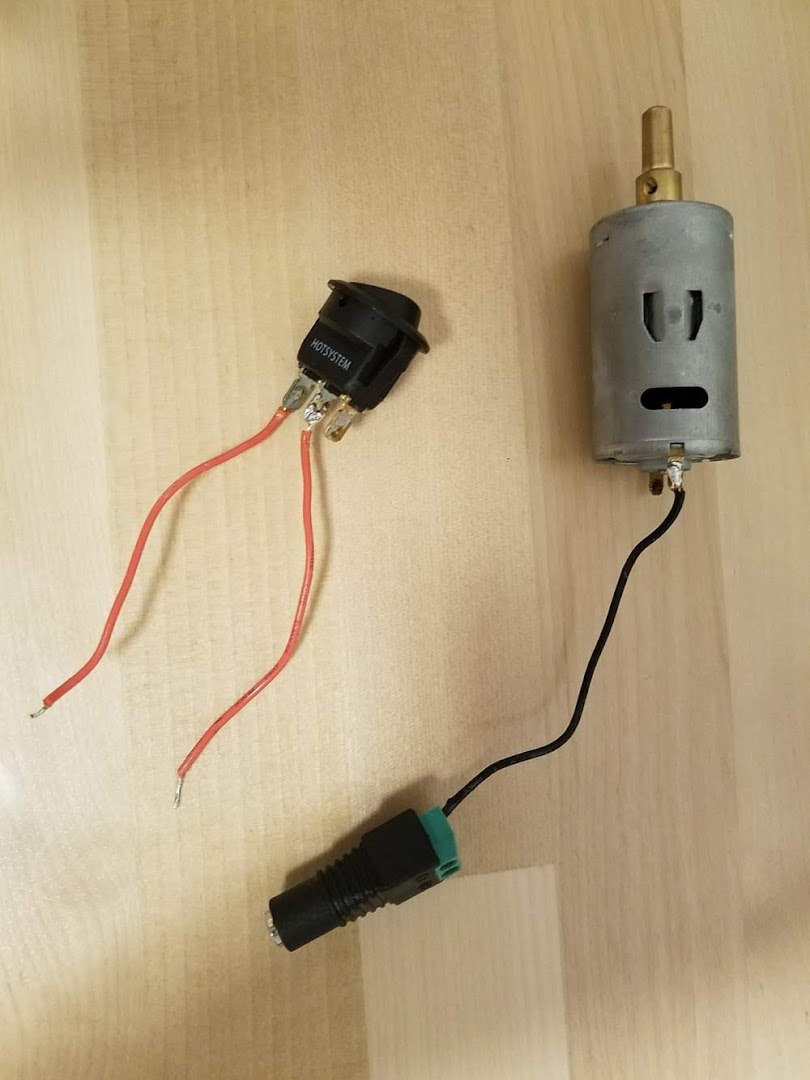
- 3d printed parts (link)
- Motor with chuck and key
- 12v plug with female socket or </a> without 12v plug if you already have one
- Switch for 12v
- Rotary tool kit (any will work, but here's one I found) 5/32" screws x2
I decided to try amazon affiliate links this time, which is a program to give back some money to me for every purchase you make at no extra cost. As a college student, I don't have much money to run a website, but if I can make at least $12 per month to keep it running, I'd be more than happy. Please support me, even if it's just sharing my projects with others, which will keep me motivated to make more new things.
Assembly
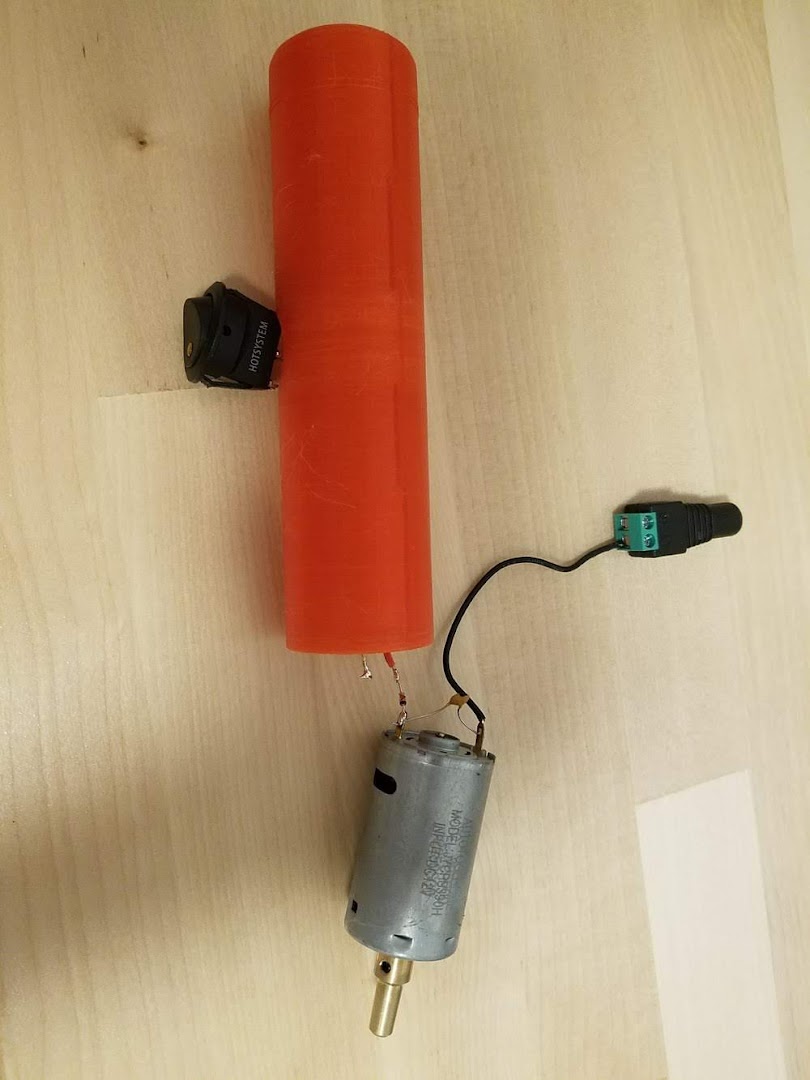
- Solder two wires (positive) to the switch. For some reason, the on-state of the switch is opposite the LED, so be careful. Solder one wire to the motor (ground) and clamp down the other end to the 12v female socket.
- Pass both of the switch wires through the switch opening (do not push the switch into place). Solder one of the two red wires to the other motor terminal. Make sure the wire is long enough to push the motor in headfirst, since mine was a little too short (above) I had a hard time turning it to push in.
- There should be enough room for the motor to pass through with the switch wires off to the side. Push the motor until the shaft comes out the other end. Carefully screw the motor screws in to keep motor in place.
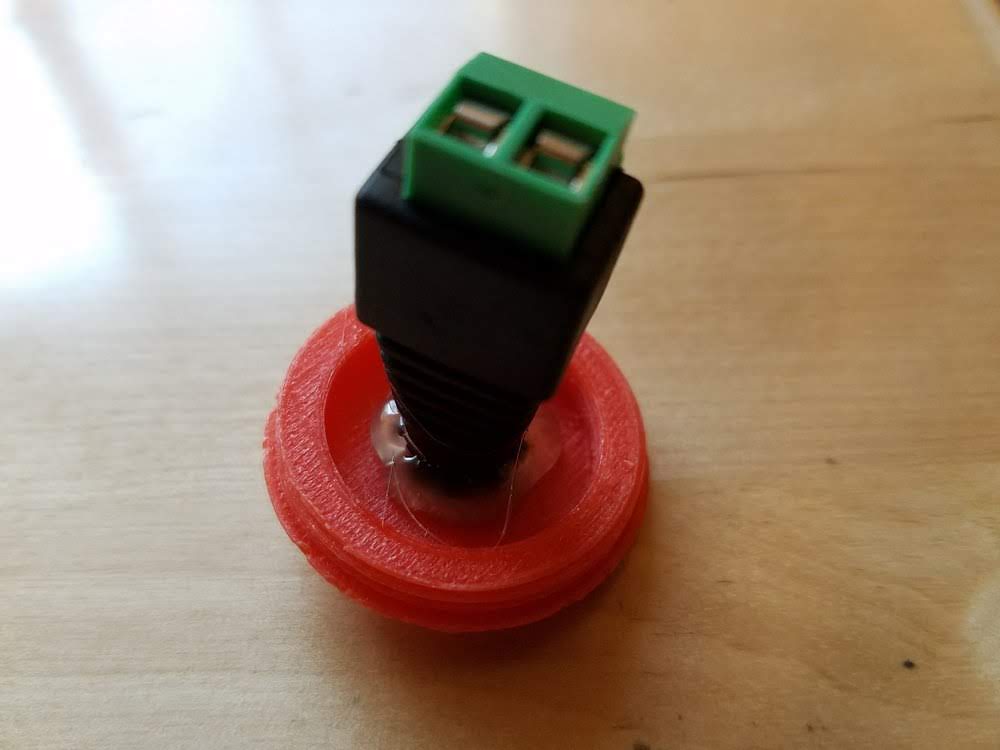
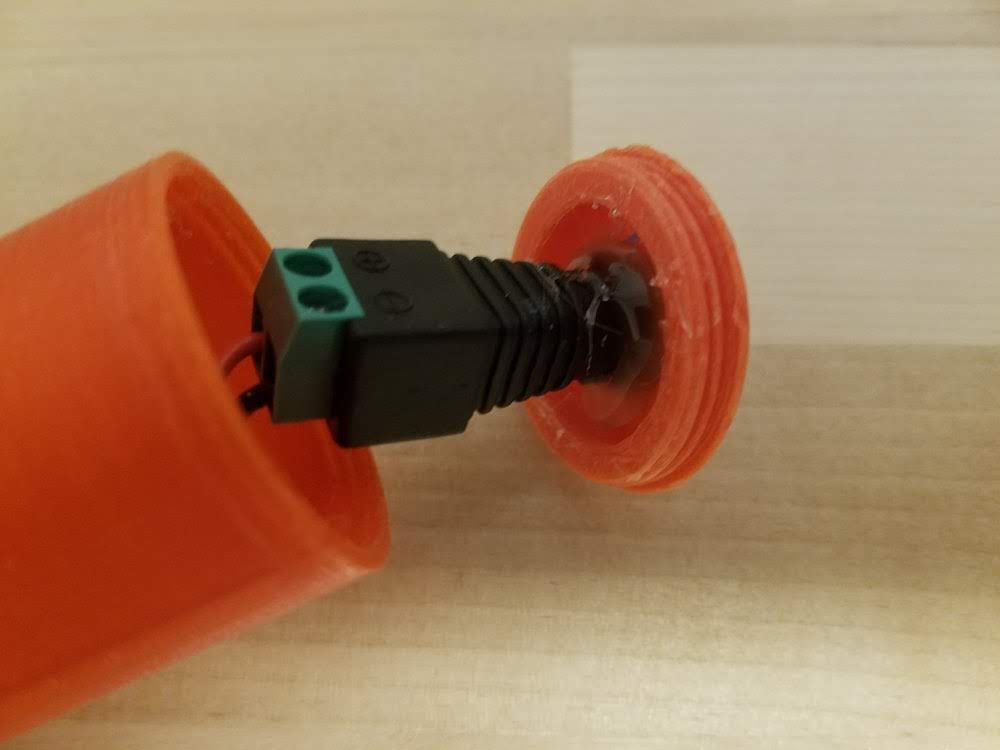
- Hot glue the female socket to the inside of the screw-on back (I know the picture doesn't have the previous wire on, it's an earlier iteration). Clamp the positive wire to the other end and screw the back on.
Conclusion
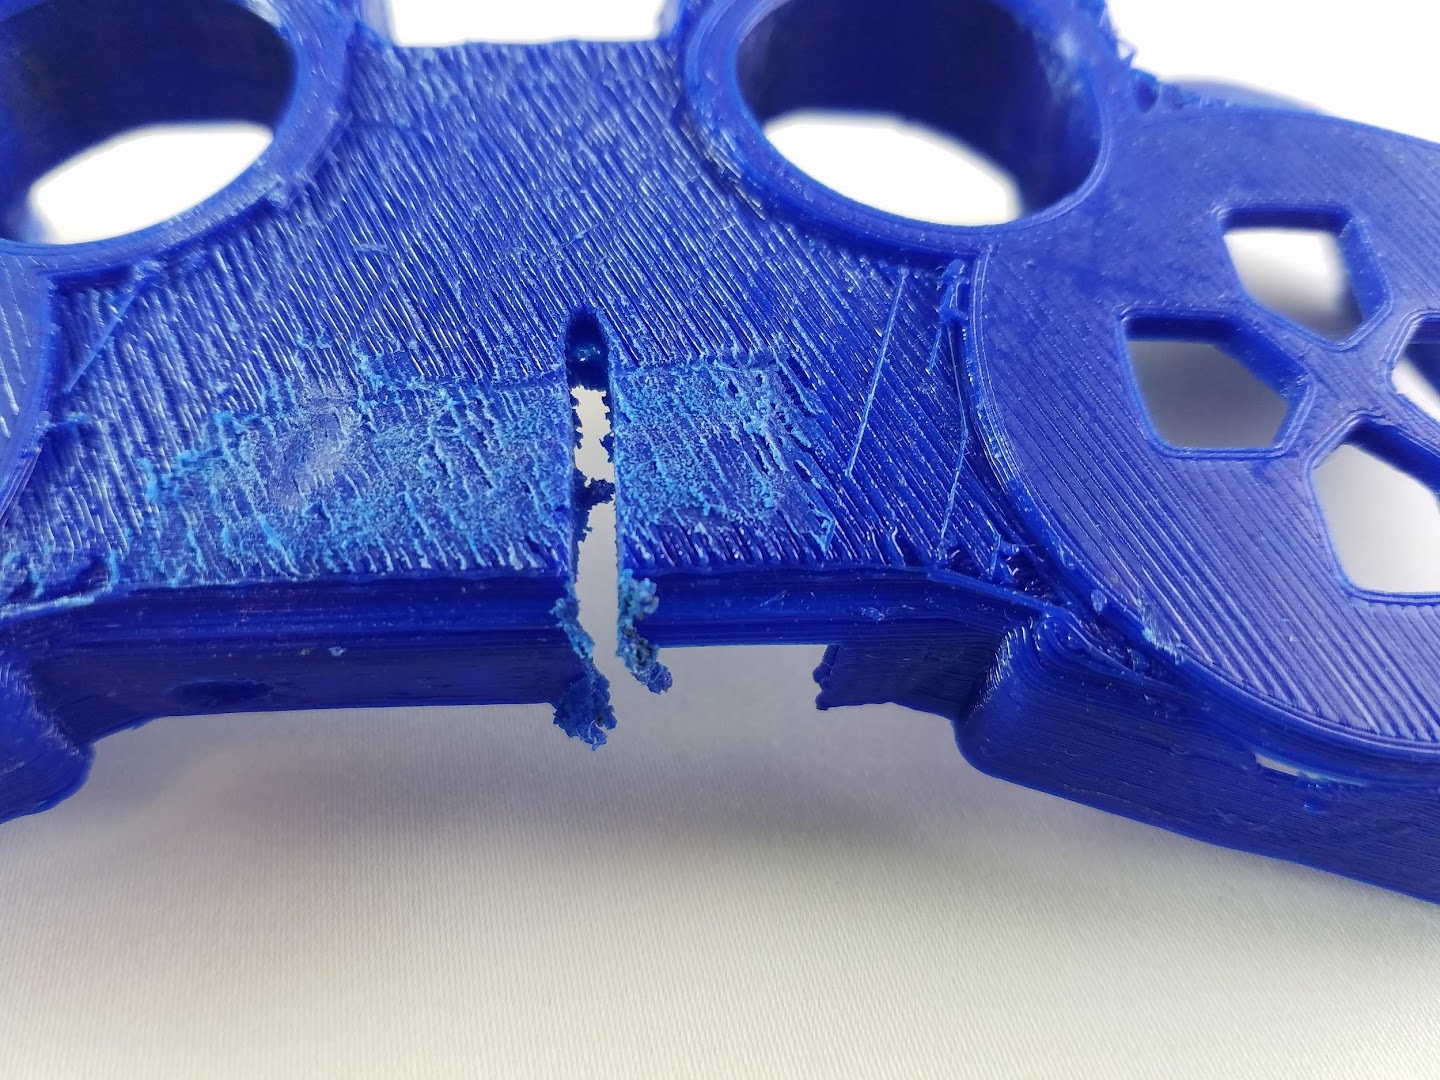
I found the motor to be quite tough, easily sanding or cutting prints even when I put plenty of pressure on it. I hope you liked this project. It's probably been done before, but I wanted to make a version of it with the parts I found. I'll probably use this tool as an alternative to hand sanding 3d prints that turn out rough. I've already used it to polish prints with rafts fused to the bottom. Thanks for reading. Look forward to my future projects.