Printing Origami
I’ve been fascinated in combining 3d printing and origami for a while now. My “Origami Experiments” was the first real success I had in combining the two. While it’s been on the back of my mind, I haven’t made progress until this past summer. My family and I watched a movie about origami called “Between the folds”. A professor at MIT, Erik Demaine, mentioned that folding paper gives it memory. What about focusing on the opposite; not the fold but the space in between. The next day I tested my hunch. I used openscad to generate a bunch of triangles to print out. Plastic can be the rigid part, but what about the fold? Needs to be flexible but durable. Let’s try paper, like real origami. I took a sheet of printer paper and printed the plastic directly onto it. Afterwards I folded the exposed sections. It worked!!! Below are my first results.


While I can program and make objects in openscad, it felt like a tedious process to create a new pattern. This past summer (2018) I interned at my college and worked with a team to improve the function of the Lexos text analyzer webpage. In short, you can input any size text file and make analyses. One use can be authorship attribution for books with unknown writers. I gained experience working with Javascript, HTML, and CSS.
Being curious, I wondered if it were possible to create a webpage that can generate a 3d model from an image pattern. Origami patterns and folds are plentiful online, so instead of figuring out the ratios and programming the tessellations by hand, I wanted a program to do that for me. I put my newfound knowledge to good use and created the Origami Generator.
This website uses github pages, a platform where I can upload code and automatically have the website change with it. When visiting the Origami Generator, images uploaded will not be sent somewhere. Every process is done locally on your computer. It is compatible with every major browser.
For those curious about the innards of the program, head over to my github page.
Using the Website


There are three steps to generating the origami 3d file. The image, program tracing of the image (svg), and the 3d model. Anything you see in white is the non-folded section, which is what you want to be printed. The program creates a trace of anything colored/dark in the image. Then a 3d model is created based on the tracing. I will explain in detail my recommended steps and other tools below.
The default image is a bistable origami fold found by Cornell Researchers. You can upload an image by clicking “Choose File”. When uploaded, the main image will update to show the new one. Below the image are several basic image editing tools. Brightness, contrast, make black and white, invert colors, and revert changes.
I recommend selecting “Black and White” first, then “Invert”, and then change the brightness and contrast if necessary. Click on the green button to the right “To svg” to generate the tracing from the image. “Download Image” will download the edited image.
In the “SVG” tab you can compare the original image to the tracing made by the program. If the tracing isn’t accurate, go back and change the brightness and contrast of the image in the “Image” tab. Above a certain threshold of darkness the tracer will trace from the image. The rest will be ignored.
Here you can change the thickness of the lines, or folds, of the resulting 3d print. Everything done here has no absolute dimension, so you will have to get a feel for what works. I personally leave everything at default. Just as a side feature, you can also thicken a black stroke. If you wanted to print out just the fold pattern, or make something like Disney Research did and vary the thickness, the “Black Stroke” option will do the trick. You can now head “To 3D”.
You will now be taken to the “3D” tab where the 3d model will be generated and displayed in a small 3d viewer. The model can be rotated and tilted. Just click “Download as STL” to download the 3d model. The file name will be based on the time it is downloaded. By default, the file will be 1mm thick.
My recommendation is printing at 0.15 mm height. This is just a single layer of plastic. It’s nice and rigid, but flexible enough to stay out of the way of folding. Any thicker and the plastic may peel off of the paper. In the slicer, scale up or down the size of the print first. Then, deselect uniform scaling and change only the z axis to 0.15 mm.
As for print settings, I use the following: Standard A4 printer paper cut down to size, 60 degrees Celsius for the build plate, 200 degrees Celsius for the nozzle, and standard PLA.
My recommendation would be to use glue stick glue on the side of the printer paper that the nozzle will print on. This will help the plastic stick to the paper better. Another tip would be to lower the nozzle closer to the build plate so the plastic is pressed against the paper when printing.
Video
Here’s a more visual walkthrough for using the website. The other half of the video is a timelapse of me making the Origami Lantern.
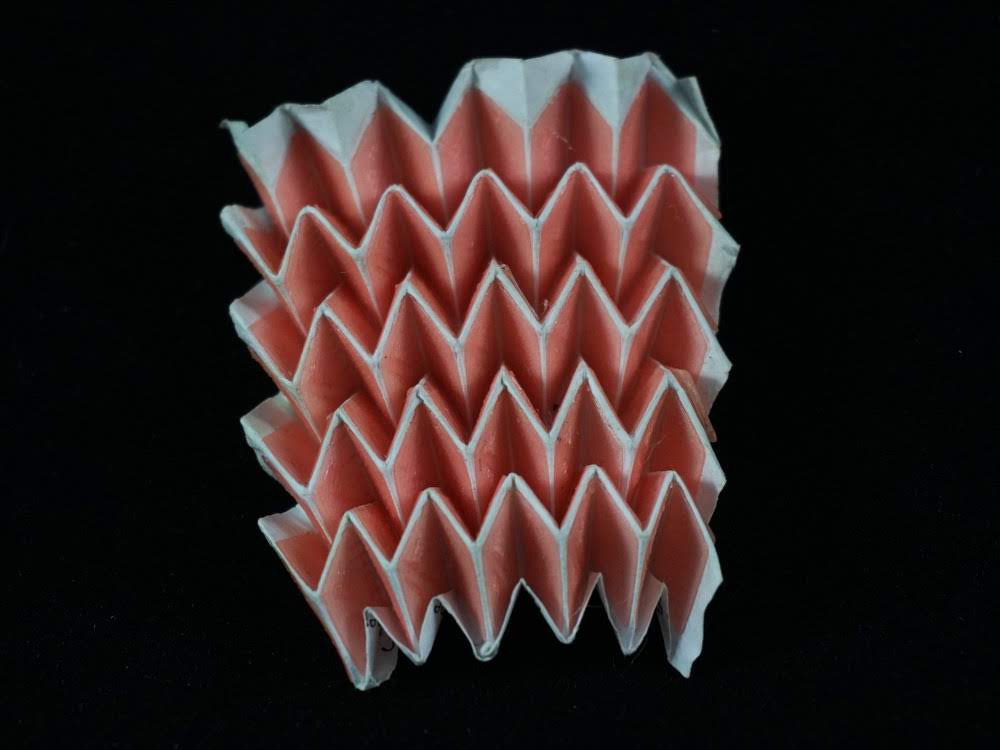
Washi


Results using washi paper above. Washi is a soft fibrous paper that originates from Japan. My dad has been using it for his artwork and so he gave me some of the thinner washi sandwiched between the larger pieces of washi. Due to it's soft flexible nature, I knew this would be perfect to work with. And that’s what I used for my Origami Lantern. My dad buys his washi from Hiromi Paper in LA.
Patterns


Above are some of the patterns I designed myself. Feel free to use it in anyway you want. If posting online please credit me and this post.
I will list pre-made 3d files below on my thingiverse page. The list will grow as I upload more.
Conclusion
It was a fun project and I’m happy to finally release my work. I have plans to improve the origami generator website, but that also depends heavily on the popularity of the tool. Let me know if you like my programming based projects. I might make more online tools relating to photogrammetry and timelapse making.
For experimenting with more folds, check out Amanda Ghassaei's website. She has developed a fantastic origami fold simulator and has a very nice library of different origami folds. Clicking on the pattern tab will take you to the fold pattern. Do not try to use an svg as the input for the origami generator, it only takes images (png and jpg). I have not yet implemented svg as an inputable filetype. For now take a screenshot of the pattern and go from there.
I recently setup a paypal.me link where anyone can help fund my projects directly. It will help me cover the costs of parts I use and test. I tend to go through several iterations before making the final product, meaning I break electronic components pretty frequently. By helping me financially, I can invest in better electronics and experiment more to bring you even more of my creations (released for free for anyone to use).