Minimal Key Fastener

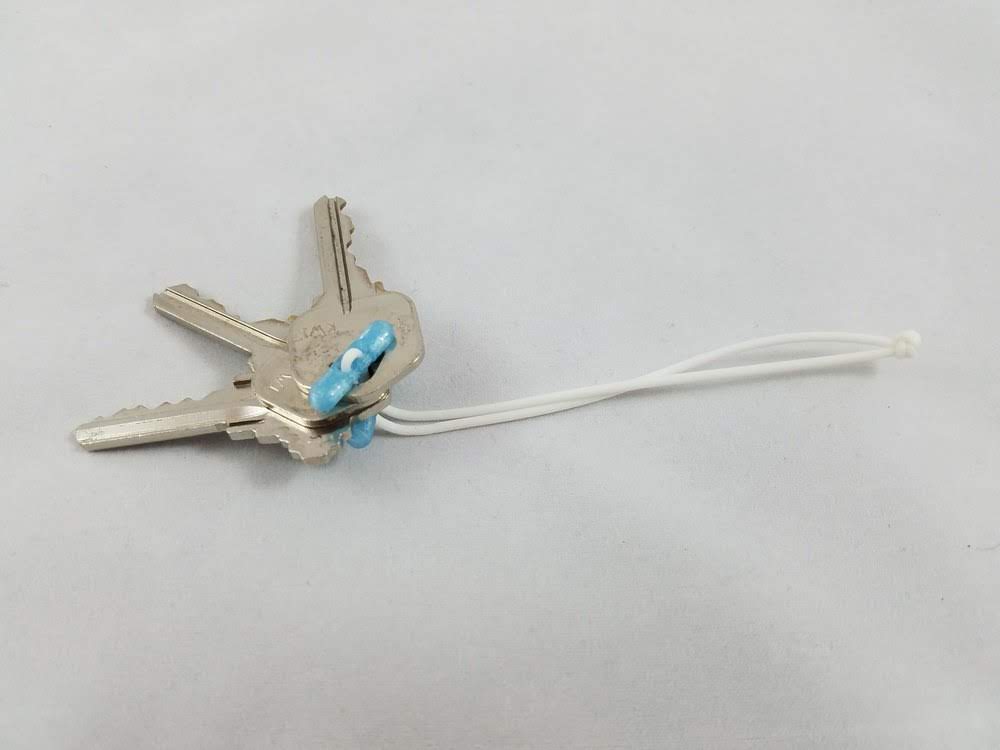


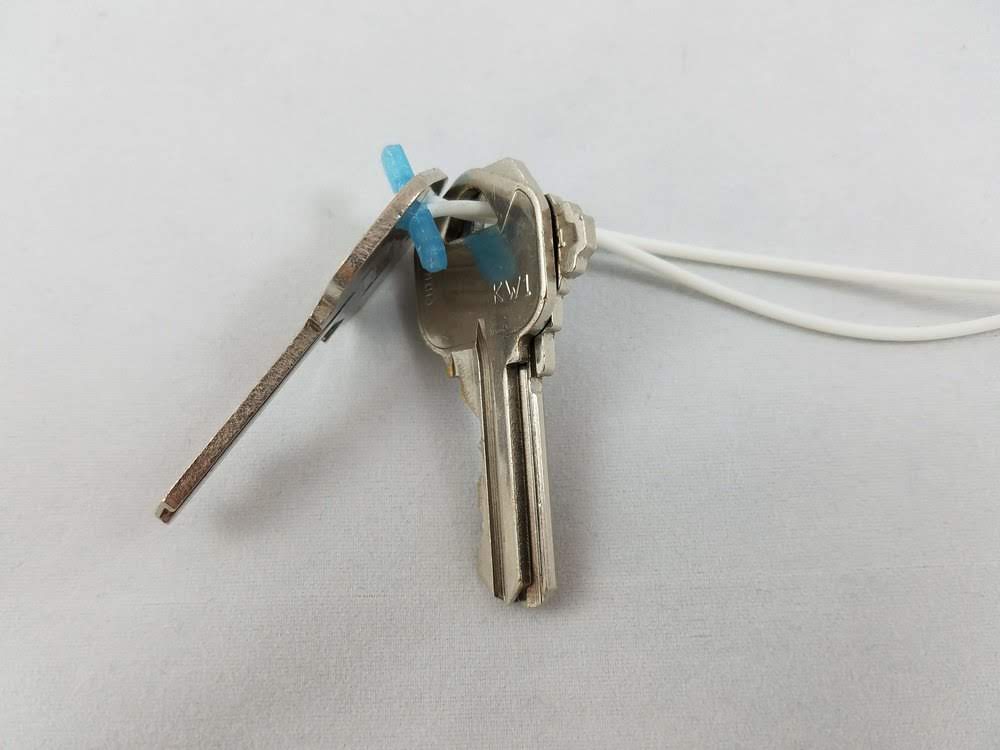
My smallest and most practical print yet: the key fastener. I’m still playing catchup with project posts from last summer. After being inspired by people online creating one simple design a day (drawing, painting, paper cutting, etc.) I decided to try it myself. Typical key rings make a lot of sound (often waking my roommate at night). The key fastener solves my problem of jangling sound by sandwiching keys together, with the added benefit of flipping out like a Swiss-Army knife. I’ve had an unused spool of ninjaflex filament (1.75mm) that I could never print with, so I used a strand for the fastener. * these keys don’t work on anything, they’re from an old house with locks that have been replaced
Assembly
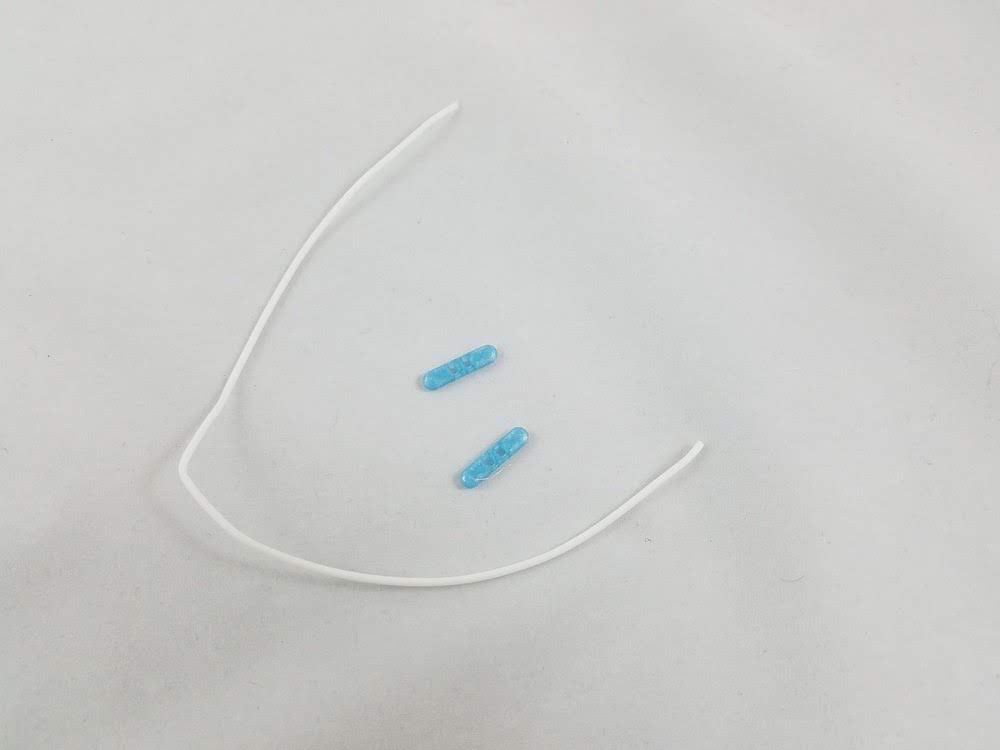
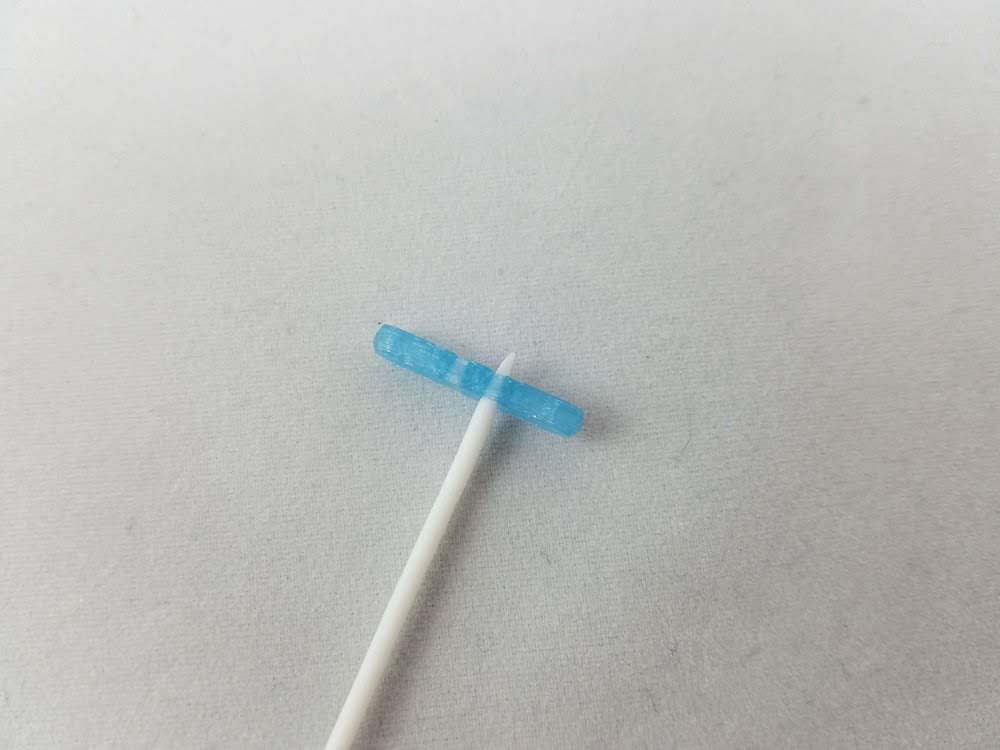
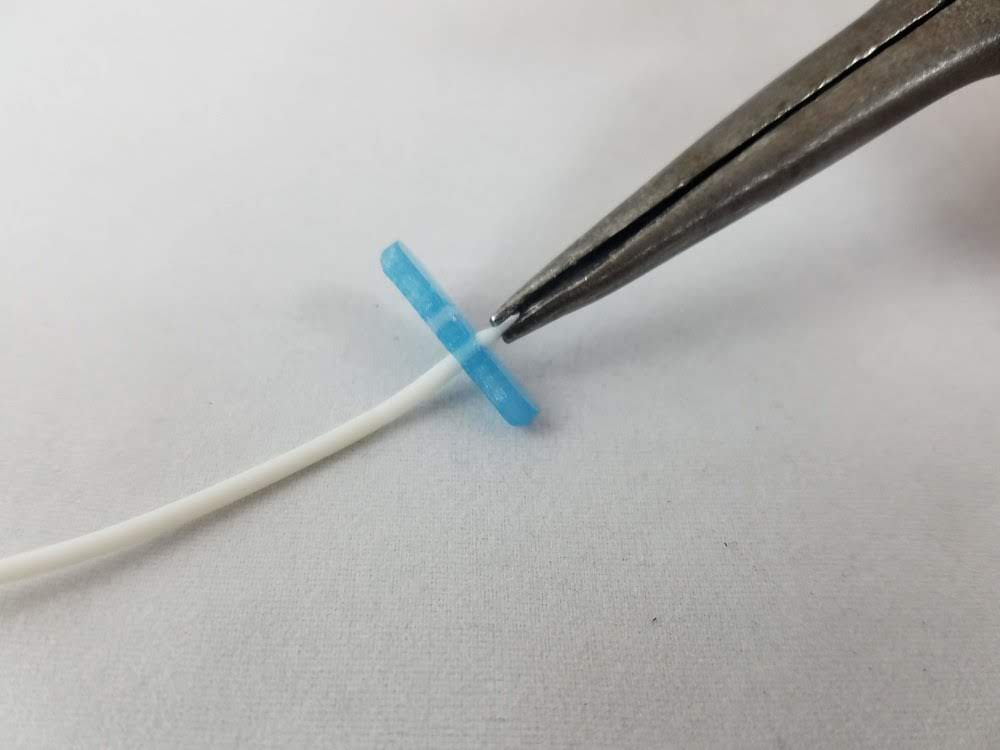
- Print out two fastener pieces and cut roughly 20 cm of ninjaflex.
- Cut the end of the ninjaflex at an angle to make it thin enough to pass through the fastener. Use pliers if necessary to pull strand through. Repeat for the second piece (you don’t need to put keys in yet).
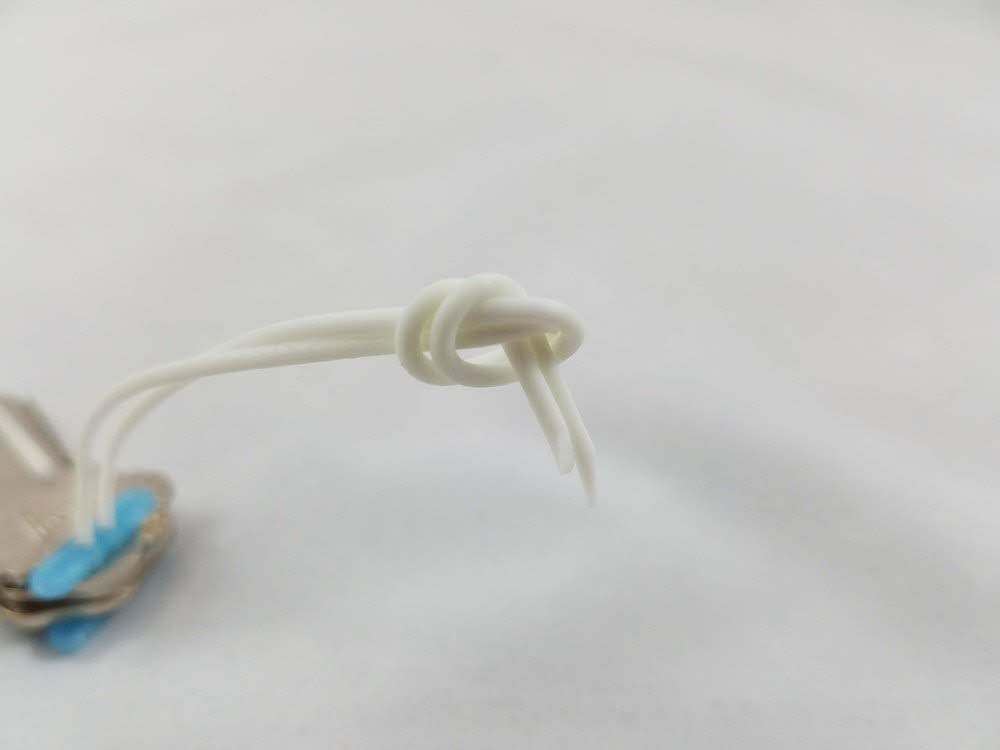
- Tie a knot at the end.
- The fastener is small enough to pass through the hole of any key. Pull on the fastener piece closest to the knot to sandwich keys together.
Design Process
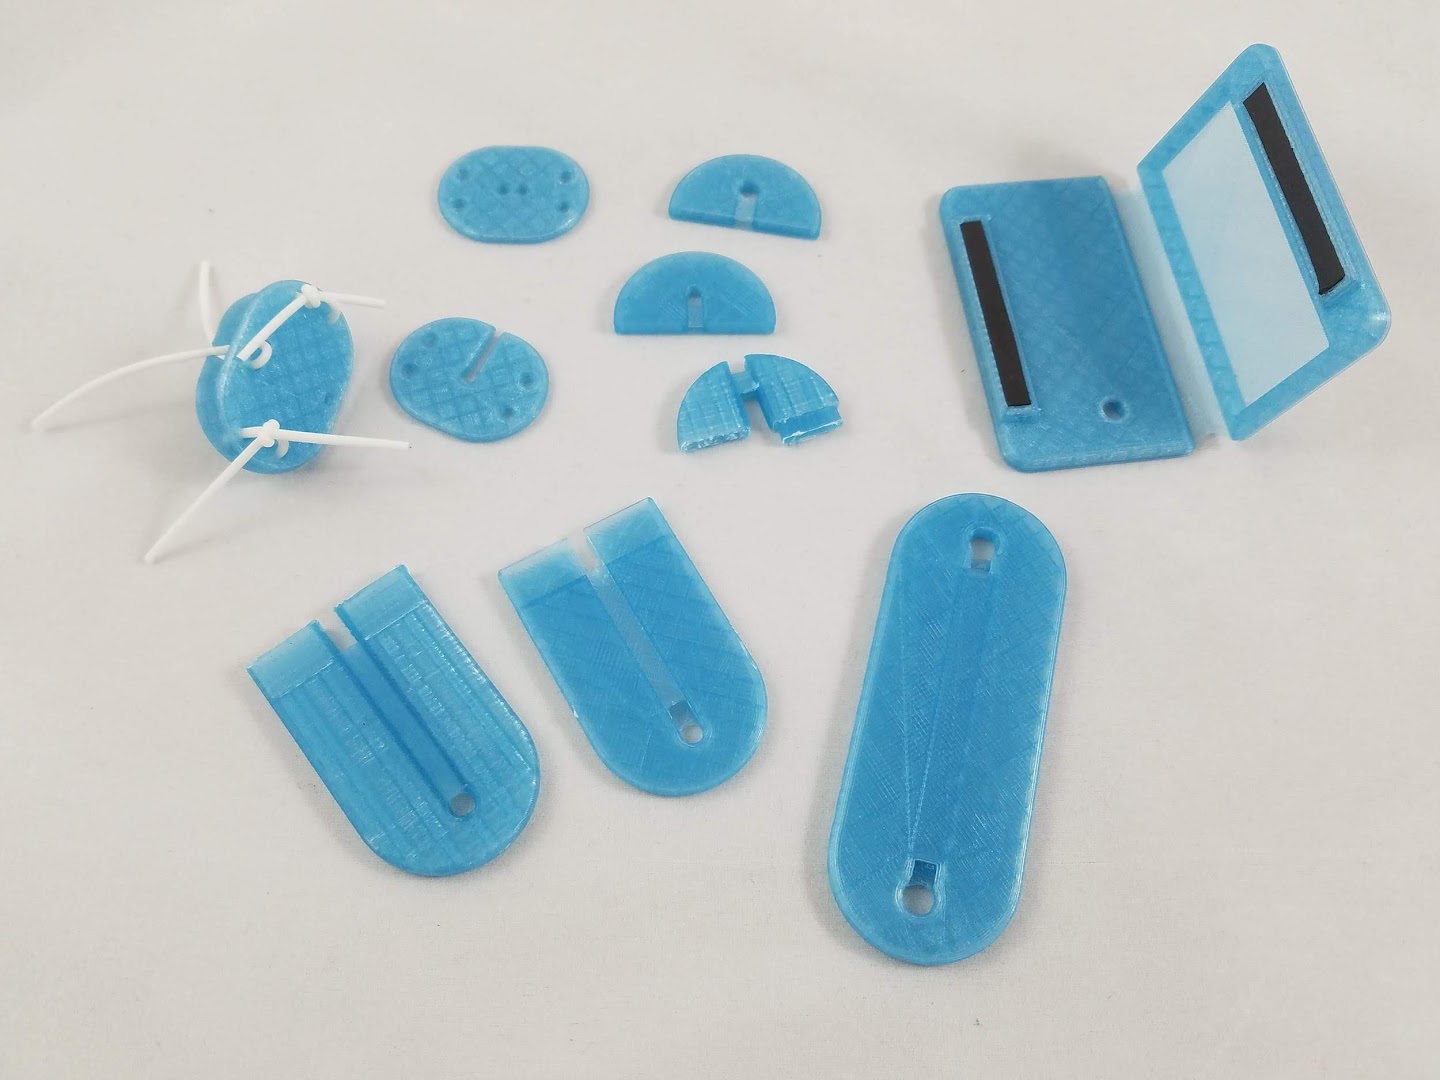
These were some of the earlier designs I made before settling on the minimal one. I enjoy showing the failures and design iterations I went through before arriving at the final version. Originally, the idea was to create a hard case surrounding the keys and evolved into two small pieces of plastic with hole cutouts.
I like the minimalism, but also how nonintuitive the print is. On their own, the plastic pieces don’t seem to have any obvious function. A design with a novel idea like this makes it feel original. It goes without saying this project was a success and the sprint-prototyping method forced me to cut down on print material and time, minimizing and simplifying the fastener.
In the next post, you will see an idea spun from a question I had after making this design, evolving into more useful prints.